7.CURA
Installation
Another good slicer for Tina2S. Models sliced in Cura can't preview File Info screen. Custom Cura installer on microSD for Windows and Mac.
OS: Windows 10+ / MacOS 11.7+
Installation on Windows
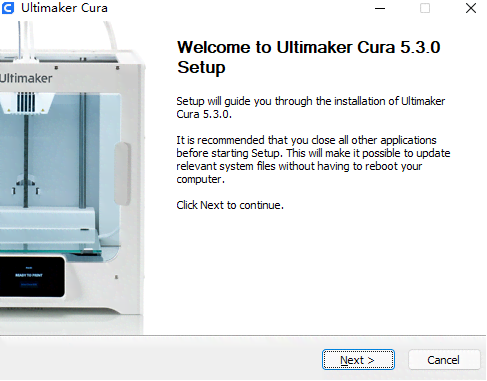
Double-click exe on microSD, then:
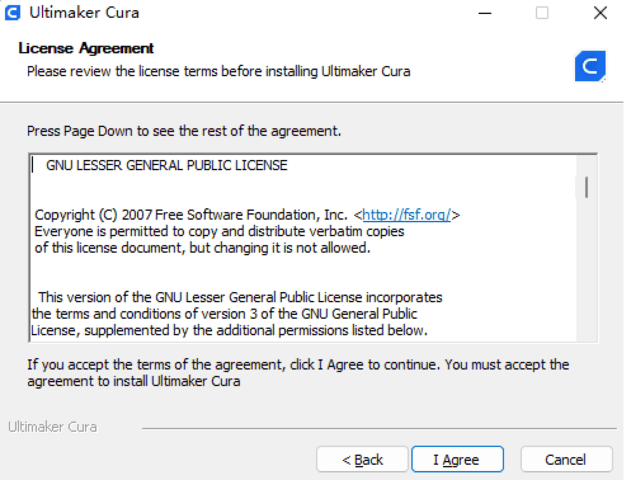
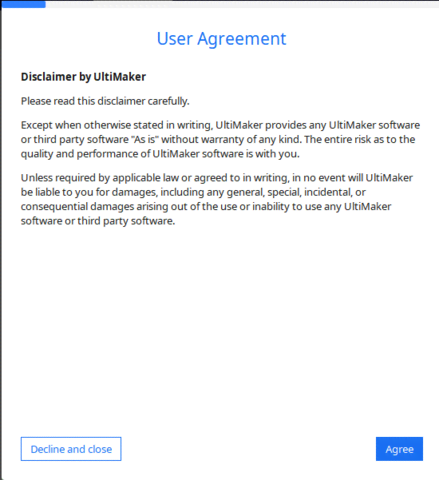
Welcome dialog > Next > I Agree
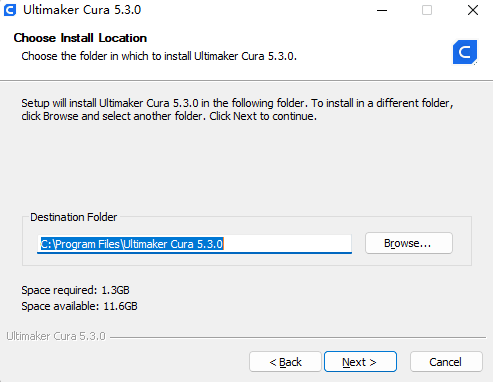
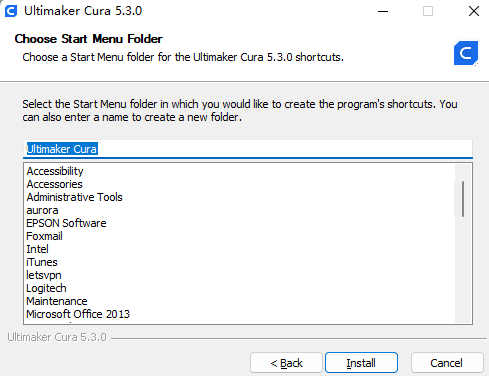
Choose install directory > Next
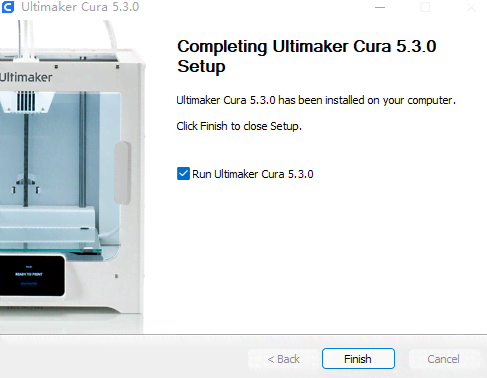
Select file associations > Install. Approve driver install if prompted. Check Run Ultimaker Cura > Finish.
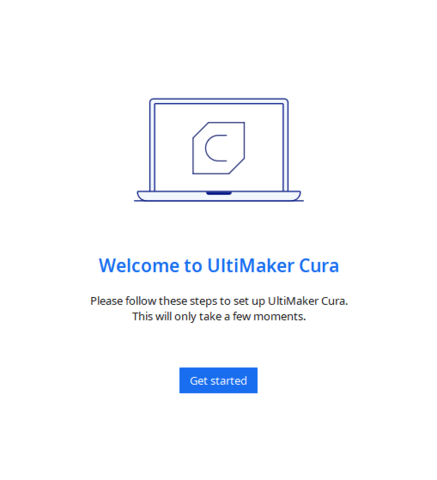
Welcome dialog > Get Started. User Agreement > Agree. If reinstalling, skip to step 6.
Next on next two dialogs
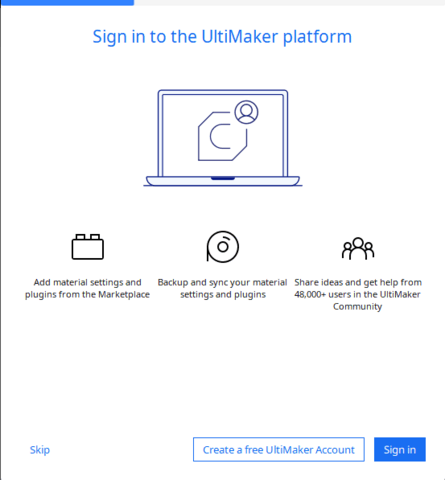
Ultimaker Cloud dialog for account creation/login > Skip
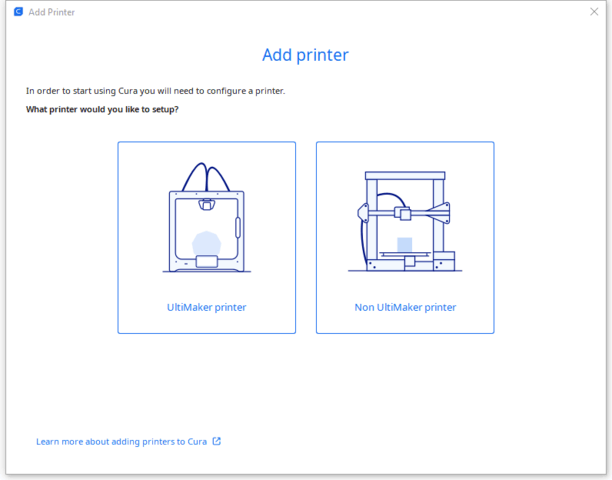
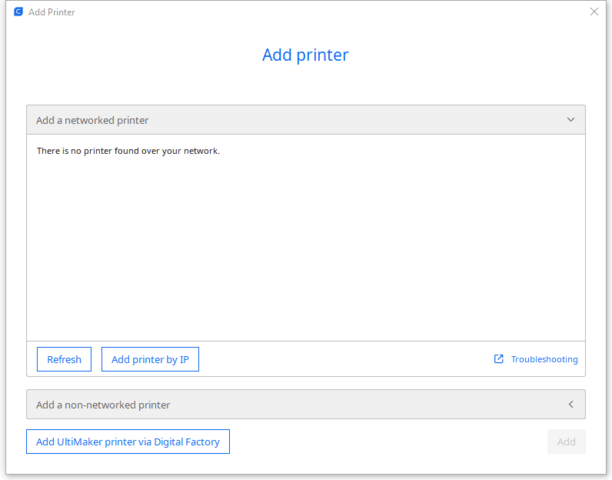
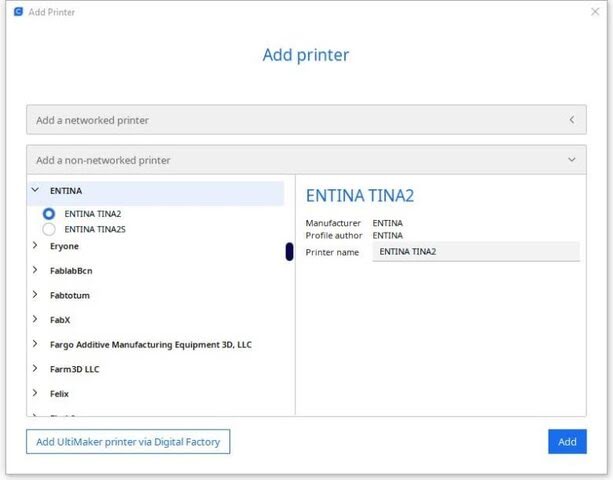
Add networked printer > Entina > TINA2 > Next. If First Run skipped, Settings > Printer > Add > Tina2 > Add, skip to step 8.
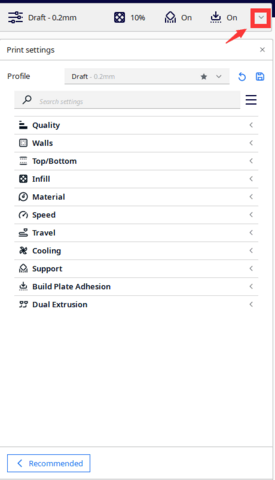
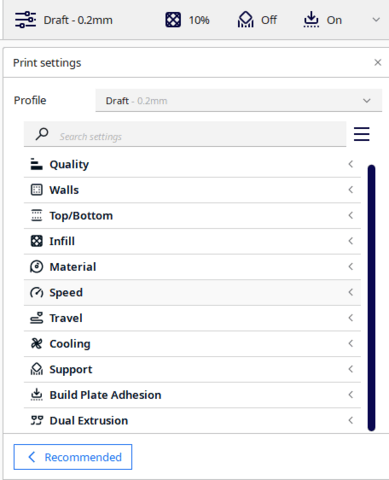
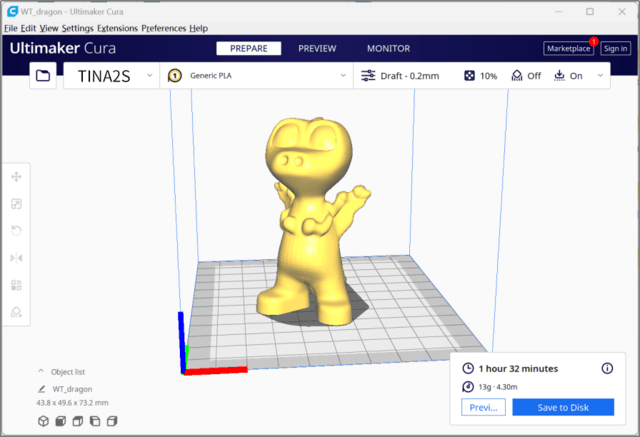
Main screen loads with Tina2 defaults. To customize, click pencil > Custom. Infill Density, Support, Platform Adhesion based on model needs.
Infill Density: Overall strength. Low for decorative, high for functional parts.
Support: None for no overhang (cube), Touching Buildplate for plate overhang only, Everywhere for complex overhang.
Platform Adhesion: Brim usually sufficient and easier cleanup. Raft builds sacrificial base layer.
Experiment for best results.
Install complete! See Cura docs for operation details.
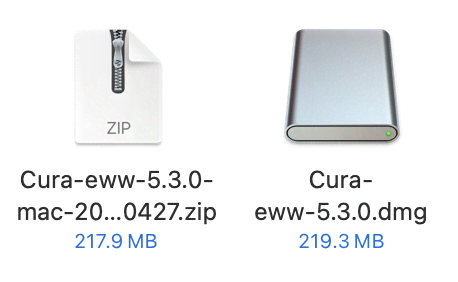
Installation on MacOS
OS: MacOS 11.7+
Decompress installer. Double-click package, drag Cura to Applications.

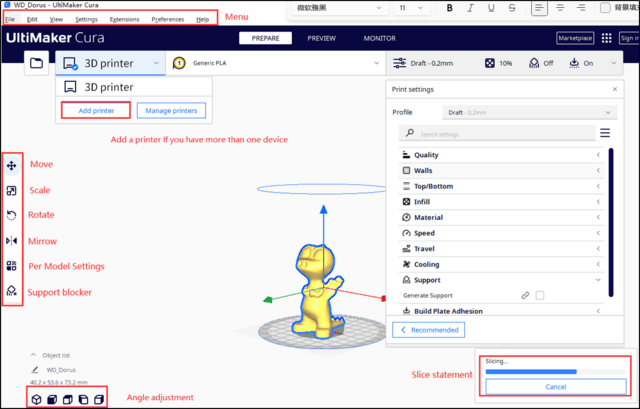
Interface Introduction
-
Menu Bar: Access Cura menu
-
Move, Scale, Rotate, Mirror: Adjust model size and position
-
Support Blocker: Manually add supports

Right-click model for context menu:
-
Center Selected: Auto-center model on platform
-
Delete Selected: Remove model
-
Multiply Selected: Duplicate multi-part model
-
Arrange All Models: Auto-adjust multiple model position and spacing
-
Clear Build Plate: Remove all models
Add Model
Open Cura, click File to load model or drag model in.

Adjust Model
Click model to adjust size, angle, position.
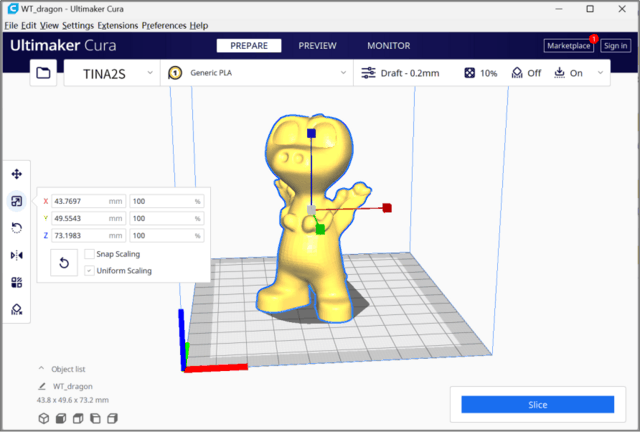
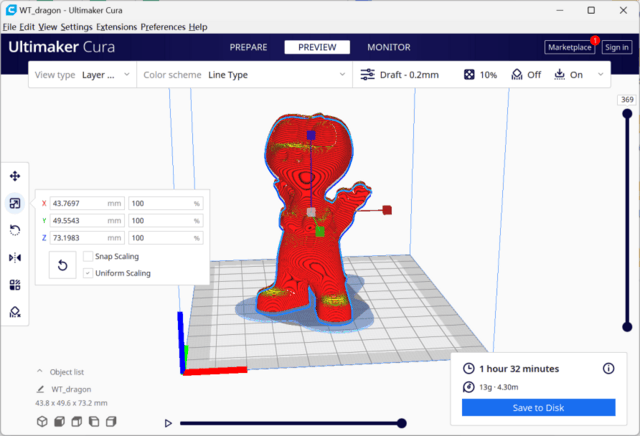
Slice
Beginners use defaults without adjustment.
After setting parameters, click Slice to process.

Send files via Network
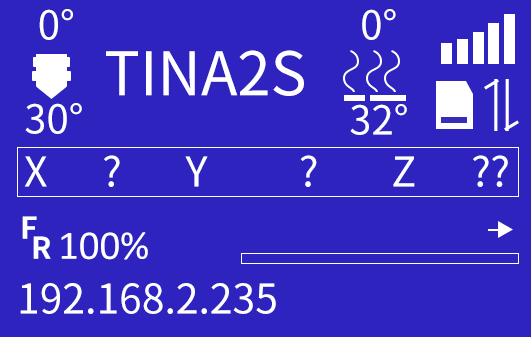
Before sending the print file through the network, make sure that the 3D printer is connected to the network, and the IP address is displayed. Please refer to: "Print by app".
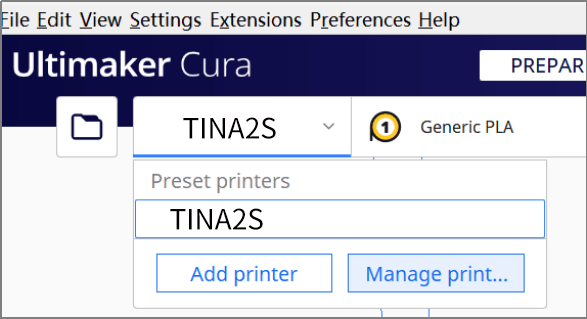
Click “manage printers”
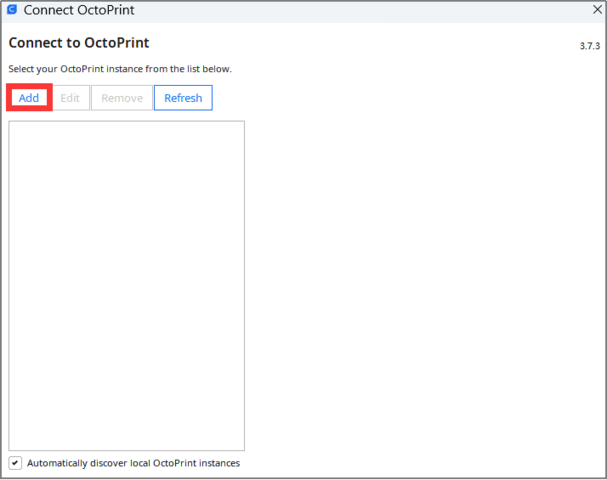
Choose “Connect Octoprint”

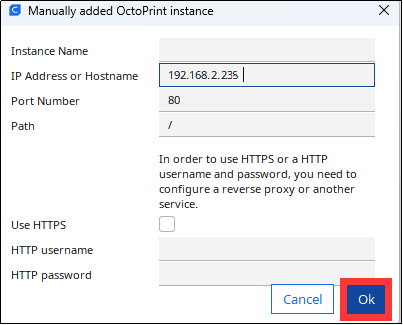
Enter the IP address and click ok to connect
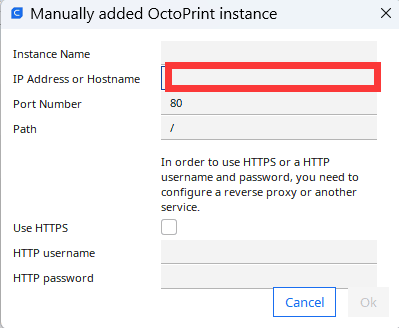
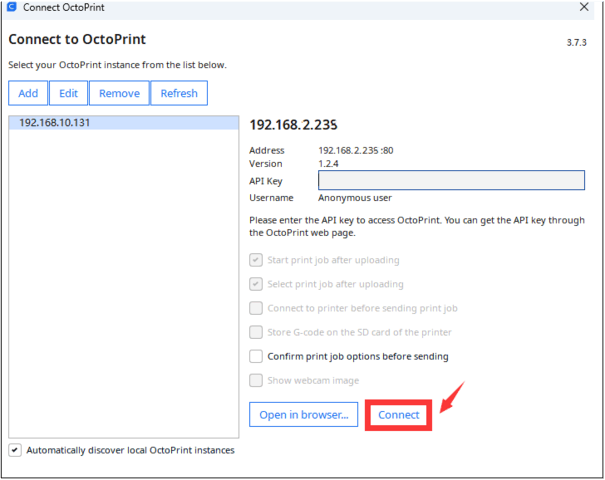
Some versions of cura need to fill in the API key : 123
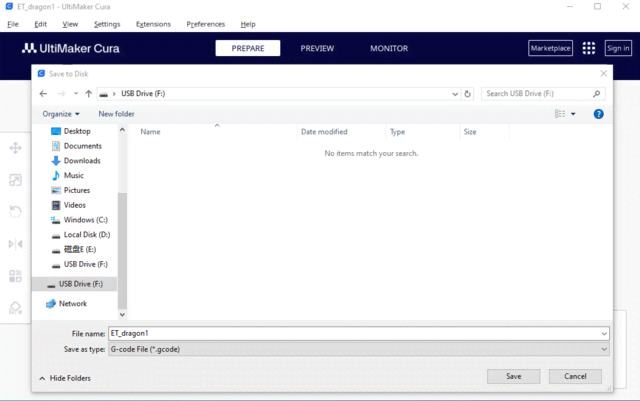
Send Files via TF card
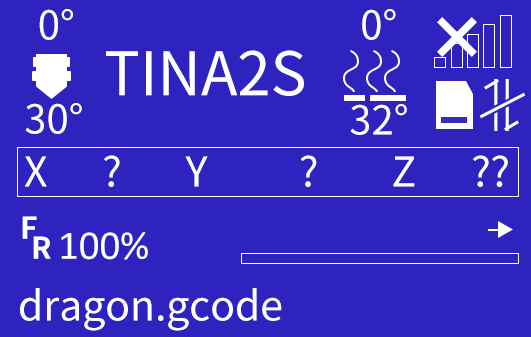
Save sliced model to TF card, insert into printer.
Note: Save directly to TF root, not in folder.