3.SYSTEM MENU
The top control panel features:
TF card slot (left): Stores print files
 Knob button (right): Access system menu
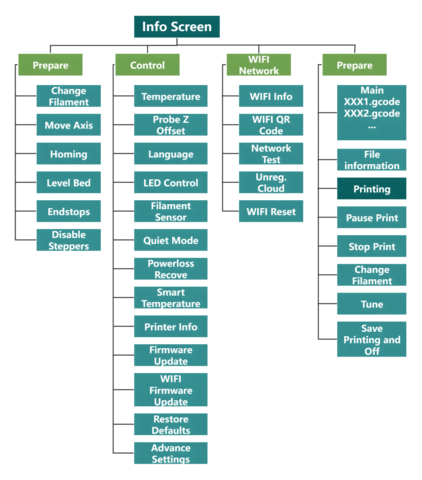
Info Screen
Knob controls:
-
Clockwise turn: Move down in menus, decrease value
-
Counterclockwise turn: Move up in menus, increase value
-
Press: Enter submenu, select option, confirm value
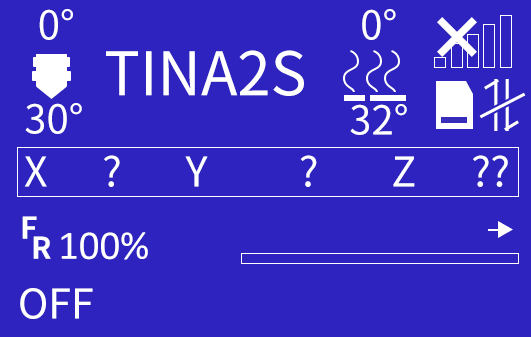
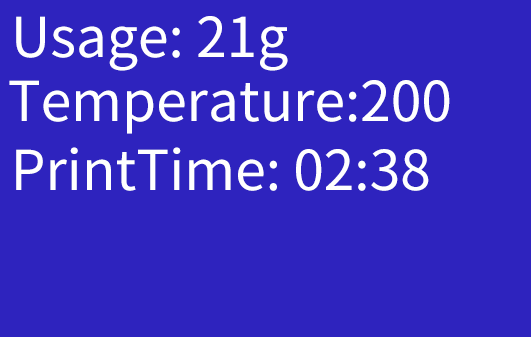
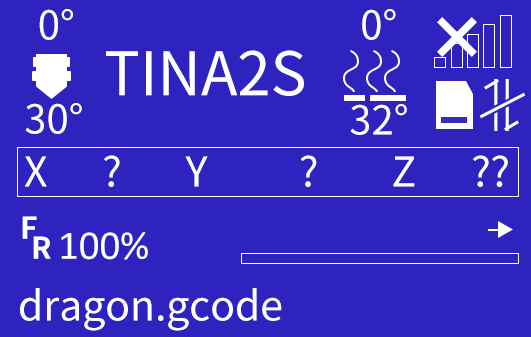
Info Screen displays the status of the main components, including: Nozzle temperature (preset temperature and actual temperature), heated bed temperature (preset temperature and actual temperature), network connection status, XYZ position information, remaining printing time, TF card status and cloud platform connection status.
The bottom bar of the screen is the information bar, which displays the network status after power on. When the device is not connected to the Internet, it will display "OFF". After the device is connected to the WIFI network, it will display the IP address of the device.
Press the knob to open the main menu.
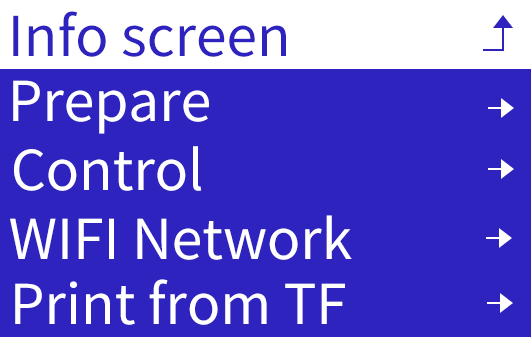
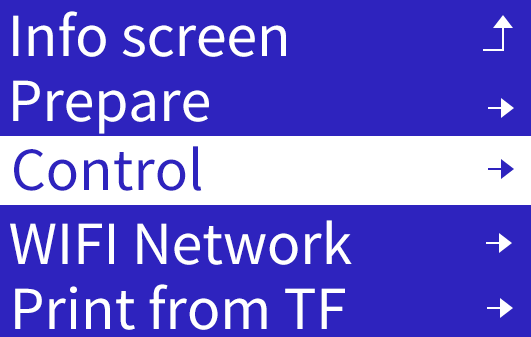
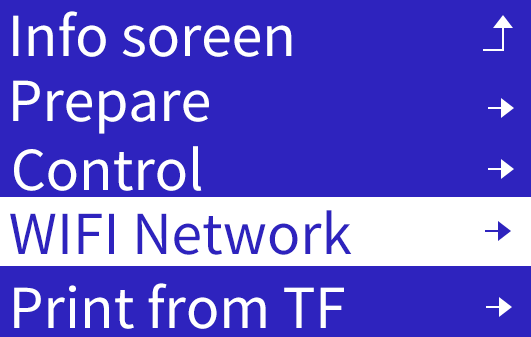
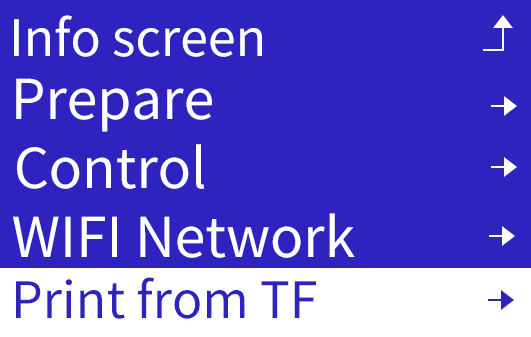
Press knob for Main Menu:
-
Info Screen: Return to Info Screen
-
Prepare: Open Prepare menu
-
Control: Open Control menu
- WIFI Network: Displays the WiFi information.
- Print From TF: Show TF card files
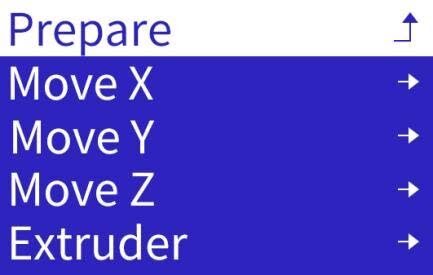
Prepare Menu
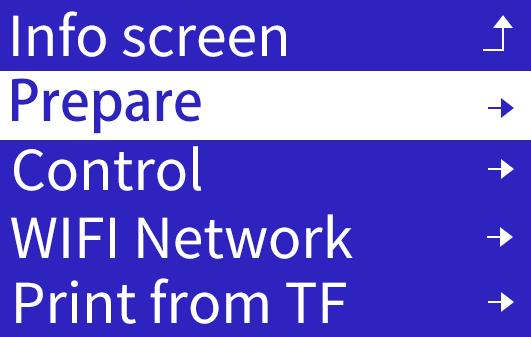
Press knob to open two-screen Prepare menu. Turn knob to scroll.


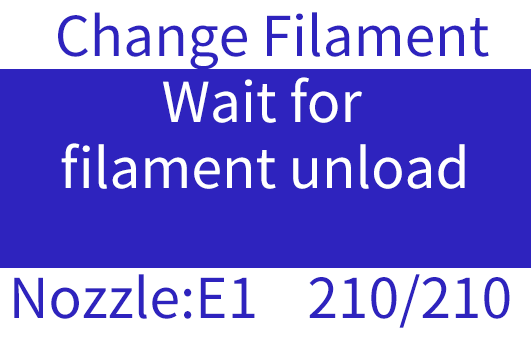
Change Filament
Use to properly unload and load filament. Do not pull filament out directly to avoid clogs.


- Change Filament:
Select filament type to heat nozzle.

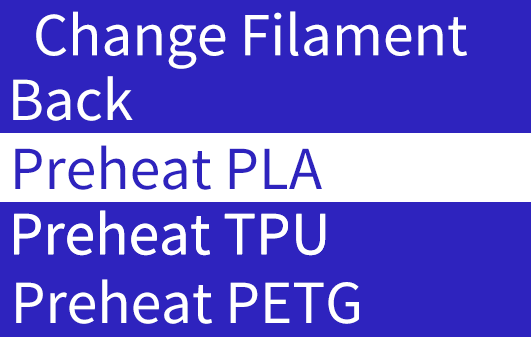

At 240°C, filament auto-unloads.
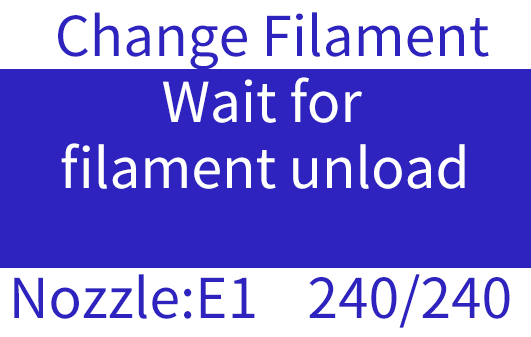
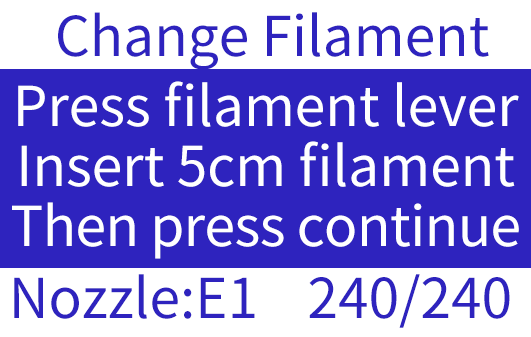
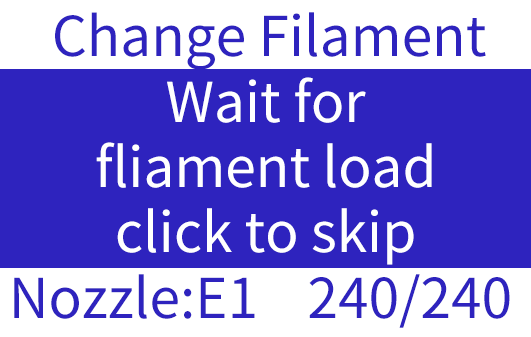
Beep indicates unload complete, insert new filament as prompted.
- Load Filament:
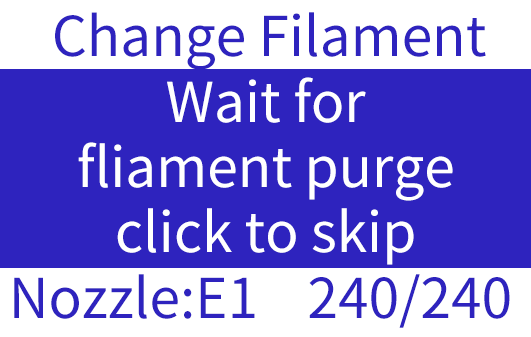
Auto-heats nozzle and loads filament. Press knob during heating/extruding to cancel.


- Unload Filament:
Auto-heats nozzle and unloads filament. Press knob during heating/retracting to cancel.


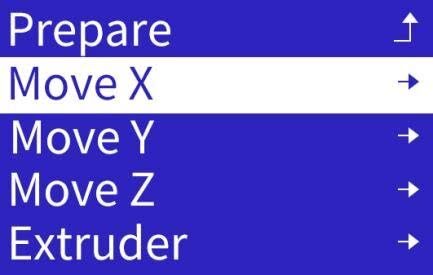
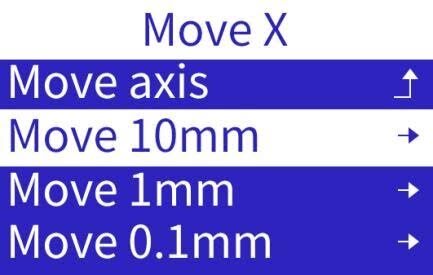
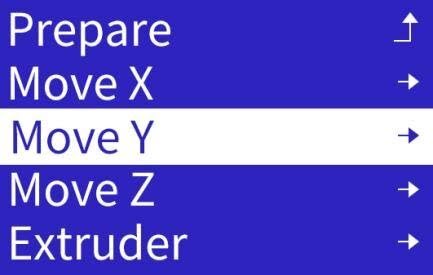
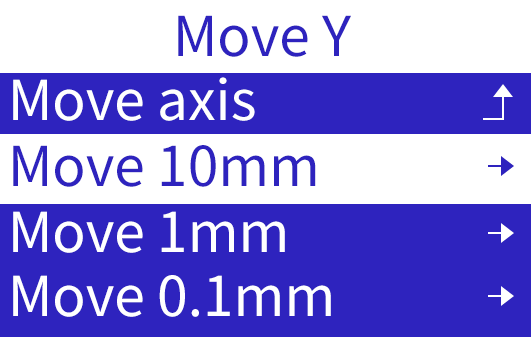
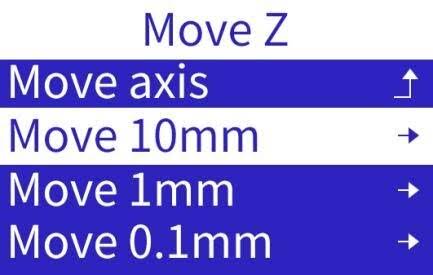
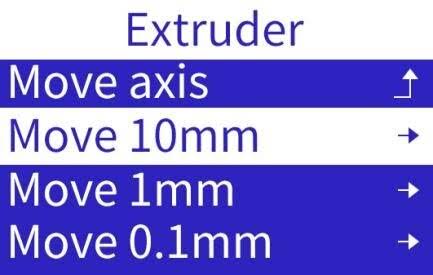
Move Axis
Manually control stepper motors for troubleshooting.

X/Y/Z Axis: 10mm, 1mm, 0.1mm increments
Extruder: 10mm, 1mm, 0.1mm increments
Knob controls bidirectional movement


CAUTION:
RANGE IS 0-100MM PER AXIS. PERFORM "AUTO HOME" FIRST FOR CORRECT NOZZLE COORDINATES. WITHOUT HOMING, CURRENT POSITION BECOMES ORIGIN, LIMITING JOG RANGE.
AXIS MOVEMENT LIMITED BY ENDSTOPS. BROKEN OR MISWIRED ENDSTOPS MAY CAUSE MOTOR TO NOT STOP OR MOVE.
EXTRUDER HAS THERMAL PROTECTION, ONLY MOVES WHEN NOZZLE IS >170°C.
Homing
Moves nozzle and platform to origin (X=0, Y=0, Z=0). Can home XYZ together or separately. Helps troubleshoot motor or endstop issues in a specific direction.


Level Bed
Auto-levels platform using proximity sensor. Done at each print start to ensure proper nozzle-platform distance.
Can diagnose proximity sensor issues - error displays if sensor fails.

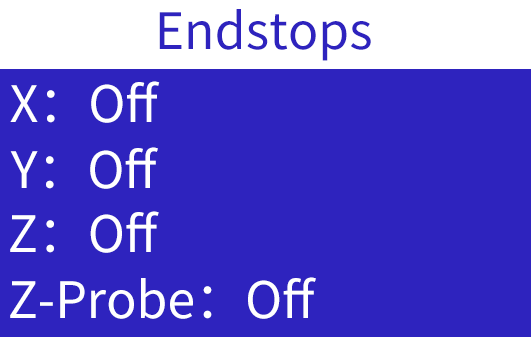
Endstops
Shows X/Y/Z endstop and proximity sensor status. Moving nozzle or platform to trigger endstops changes each one's state.
Helps diagnose faulty endstops or sensor - no state change indicates failure.

Disable Steppers
Releases stepper motor locking, allowing manual nozzle and platform movement.

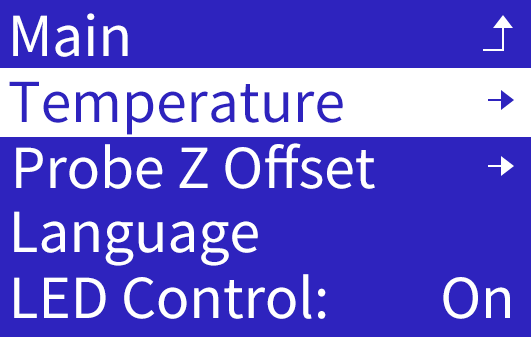
Control Menu
Press knob to open two-screen Control menu. Turn knob to scroll.
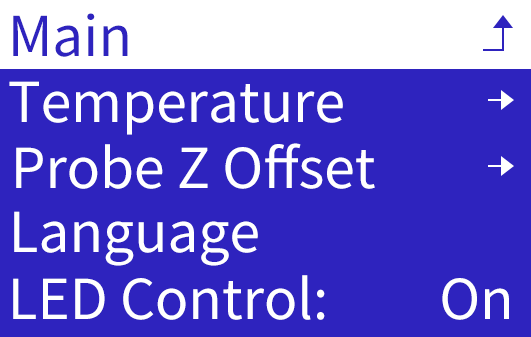

Temperature
Manually set nozzle and bed temperature:
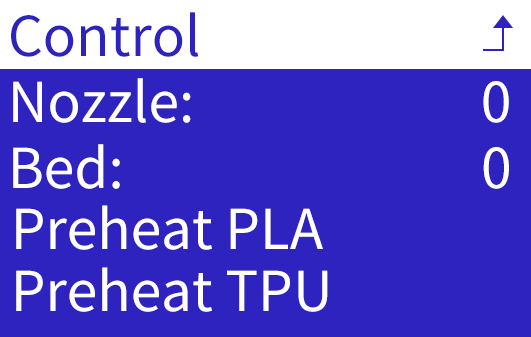
Select Nozzle or bed, turn knob to desired temp, press to confirm.
Info Screen shows real-time temp during heating. Heating continues if exiting to other tasks.
To stop heating, re-enter menu and decrease temp to 0.


Preheat PLA/TPU/PETG: Background heats nozzle to 210°C/220°C/230°C respectively.
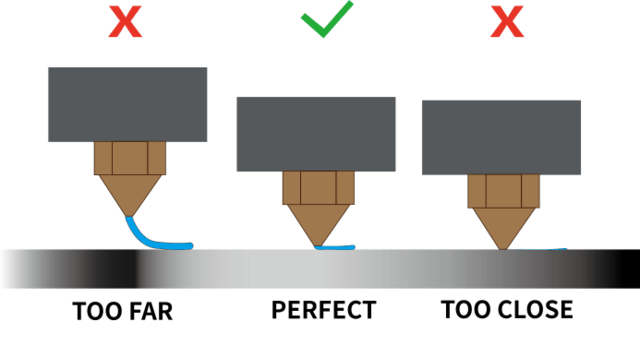
Probe Z Offset
After bed leveling, sets nozzle-platform gap. Press knob to save.
Too small: Nozzle may scratch platform or clog.
Too large: Poor model adhesion, lifting.
Recalibrate after replacing nozzle or sensor.
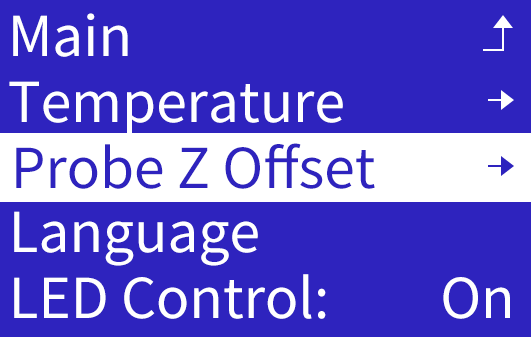


Turn knob to precisely adjust nozzle height for smooth, flat first layer.
Language
Select from: English, Chinese, French, German, Spanish, Italian, Japanese, Portugal, Dutch, Turkish and Russian.
Turn knob to select, press to save and exit.
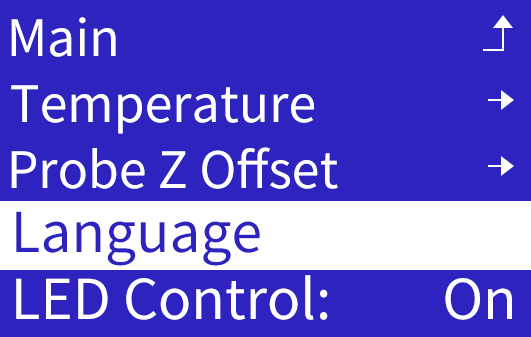


LED Control
Press "LED Control" to open the LED switch menu.
Press the knob to confirm and save.

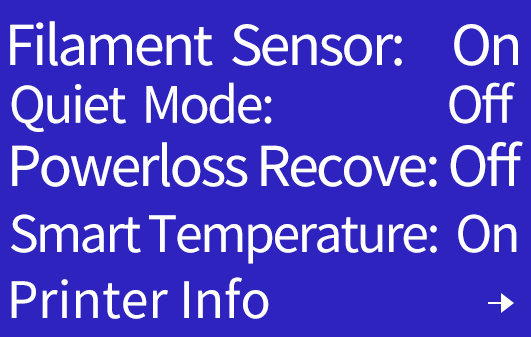
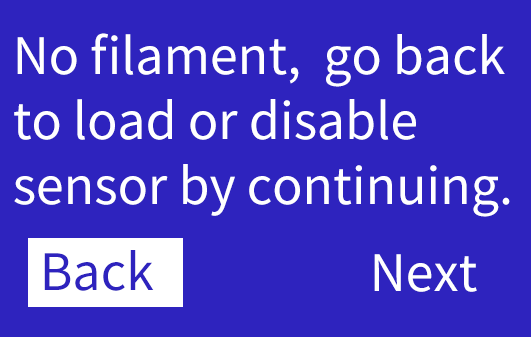
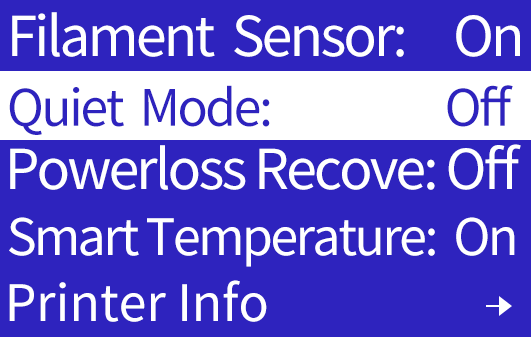
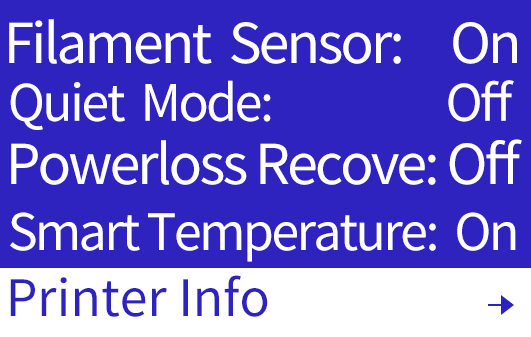
Sensore filamento: On
Press the button to toggle the filament break detection function ON or OFF. This feature is enabled by default. When no filament is loaded and you attempt to start printing or during printing, a reminder will automatically appear on the screen.
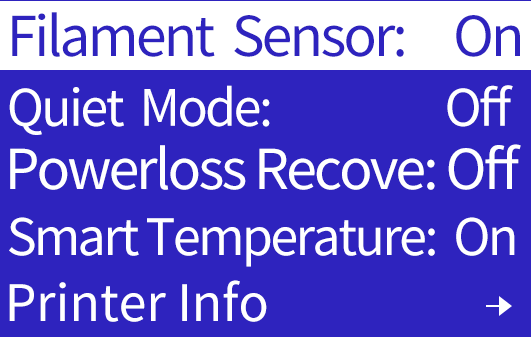
Quiet Mode: Off
Press the button to switch OFF/ON .The mute function is turned off by default. If you choose to enable it, the printer will significantly reduce its printing speed in order to lower the operating noise.
Powerloss Recove: Off
Press the button to switch OFF/ON .
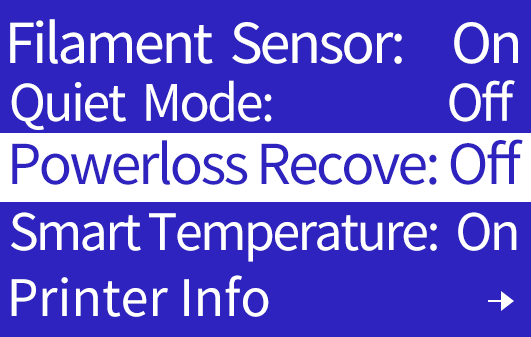
If enabled, saves print progress every 10s. After unexpected power loss, prompts to resume on restart.
Disabled by default. Enable if desired.
IMPORTANT:
PROGRESS SAVED TO ".BIN" FILE ON TF CARD EVERY 10S, OVERWRITING PREVIOUS DATA. ON RESTART AFTER SUDDEN POWER LOSS, CHECKS FOR ".BIN" FILE AND PROMPTS "CONTINUE PRINTING, STOP PRINTING". CONTINUING READS SAVED PROGRESS, STOPPING DELETES ".BIN" FILE.
SINCE SAVING ONLY EVERY 10S, RECOVERY MAY FAIL DUE TO TIME INTERVAL.
Smart Temperature
Press the button to switch OFF/ON .
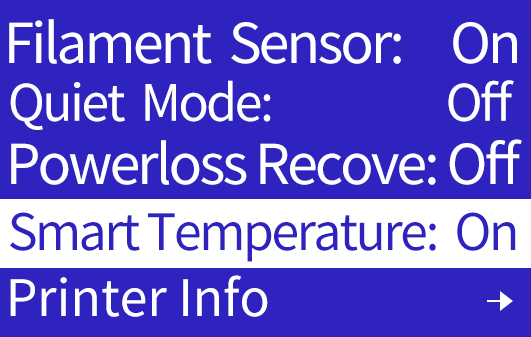
The smart temperature feature is turned on by default. The mainboard can monitor the ambient temperature and increase the temperature of the nozzle and platform according to the ambient temperature.
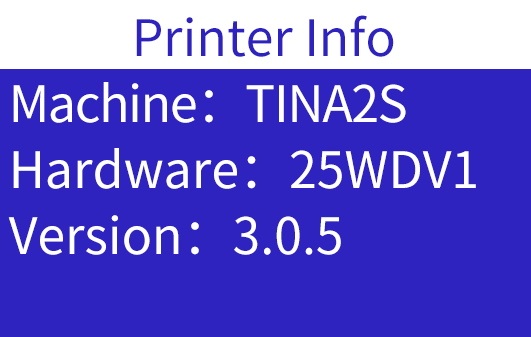
Printer Info
Shows current firmware version.
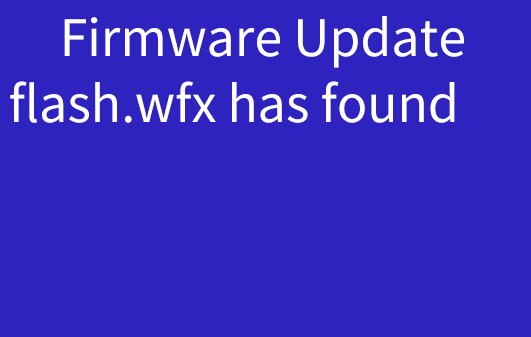
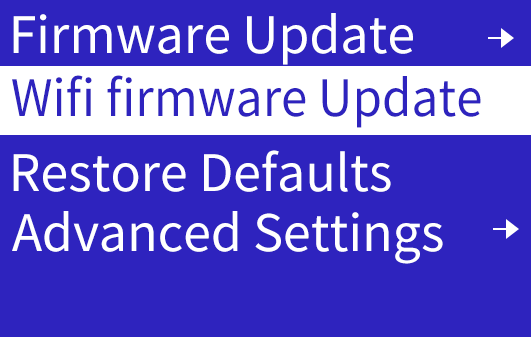
Firmware Update
- Copy ".wfx" firmware file to TF card root. Decompress first if needed. Rename to "flash.wfx".

-
Insert TF card and select Firmware Update.
-
Printer checks version and updates.
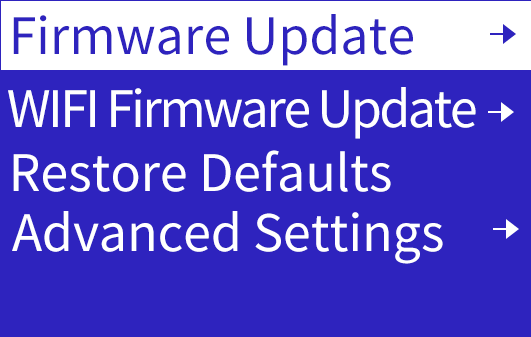
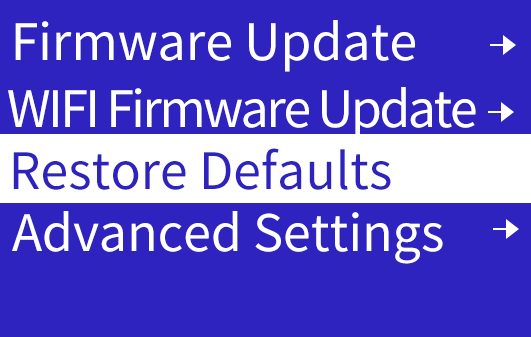
WIFI Firmware Update
- Copy ".efx" WiFi firmware file to TF card root. Decompress first if needed. Rename to "wifi.efx".

-
Insert TF card and select WiFi Firmware Update.
-
Printer checks version and updates.
Restore Defaults
Resets all parameters to factory defaults.
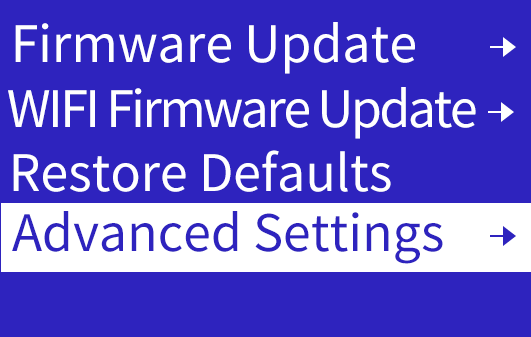
Advance Settings
Modify advanced parameters. Beginners use defaults.

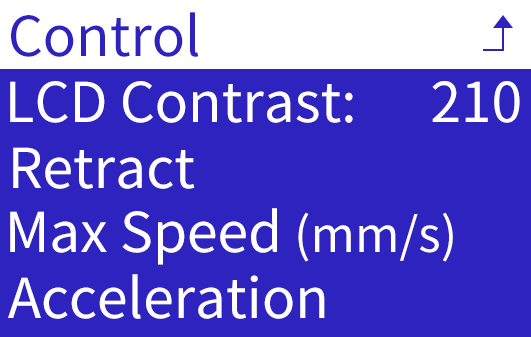
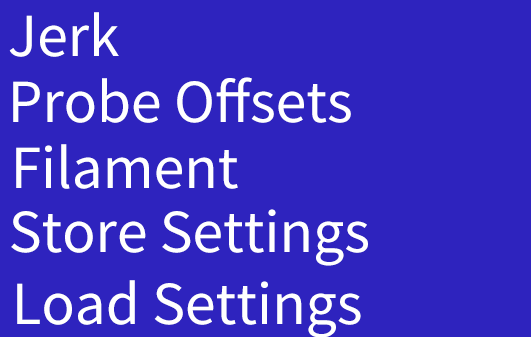

LCD Contrast: Adjust screen clarity
Retract: Auto-retract, amount, speed, etc.
Max Speed (mm/s): Same as in slicer
Acceleration: Increase print speed
Jerk: Increase acceleration ramp time and corner/jitter speed
Probe Offsets: Set X/Y/Z offsets
Filament: Set extruder compensation
Store Settings: Save changes
Load Settings: Apply saved changes
Initialize EEPROM: Reset to defaults
WIFI Network
Press knob to open two-screen Control menu. Turn knob to scroll.


The network function of TINA2S has two connection modes, local mode, and remote mode.
Local mode: In the same local area network, Wiibuilder or Cura on the computer can connect to the 3D printer, and perform remote control or send print files. To use local mode, the 3D printer should be connected to the local WIFI network.
Remote mode: Use our APP, PoloPrint Cloud, remotely control the 3D printer or download the print model. With the remote mode, you can remotely control the 3D printer from any location. To use remote mode, the 3D printer should be connected to the WIFI network and registered with the APP. Notice, a 3D printer can only be registered by one APP account.
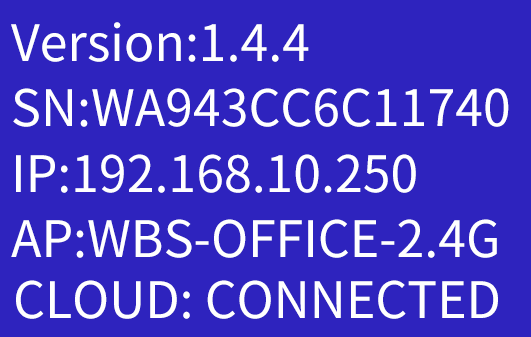
WIFI Info
Press "WIFI Info" to open the WIFI info screen. It will show the WIFI firmware version, the serial, IP address, AP name, and the connection status of the cloud server.
Before the network is configured, "OFF" and "UNKNOWN" will be displayed.

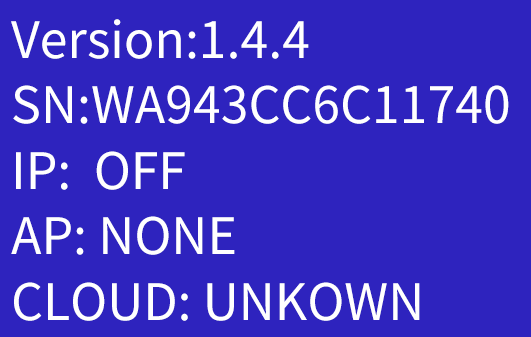
Only after configuring the network and registering in the APP will the 3D printer connect to the cloud server.
WIFI QR Code
Press "WIFI QR Code" to show the QR code generated by the device serial. Used for App scanning networking and cloud access.


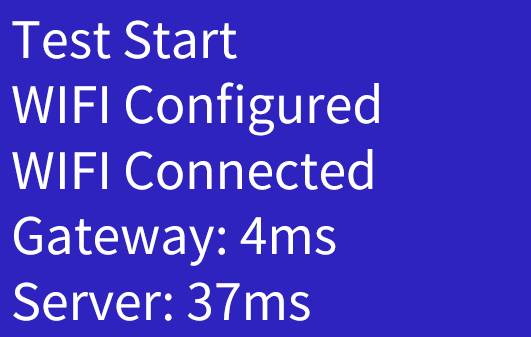
Network Test
Press "Network Test" to start testing the current network connection and response time.
If the printer encounters network or app-related issues, use this function to check whether the network is properly connected or if the connection speed is too slow.


Unreg. Cloud
Press "Unreg. Cloud" to view the instructions for deregistering from the cloud platform.
Please follow the tutorial to complete the operation in the app.


WIFI Reset
Every time TINA2S is turned on, it will automatically connect to the WIFI network that was successfully connected to the last time. If you need to connect TINA2 to a new WIFI network, you should execute the reset WIFI setting function to clear the saved WIFI network information.


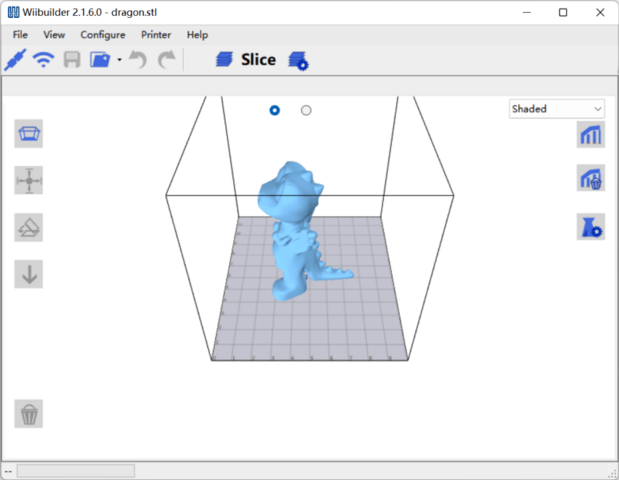
Print from TF
Shows ".gco" or ".gcode" print files on TF card.

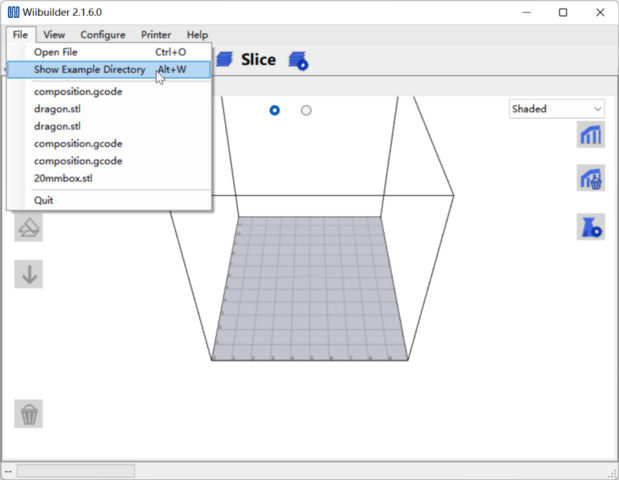
If the correct printer is not selected when using slicer software like Wiibuilder or custom Cura, the generated G-code file will be incompatible with the printer, resulting in an 'incompatible' error message. Make sure to select TINA2S.

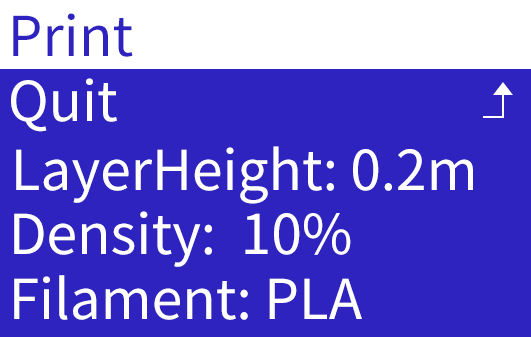
Select file and press knob for print info. "Print" starts printing.
To prevent damage, checks machine model in file. Blocks print if model mismatched or missing. Use Wiibuilder or custom Cura version and select correct model when slicing.
NOTE: FILE NAMES ≤20 CHARACTERS TO AVOID DISPLAY ISSUES.
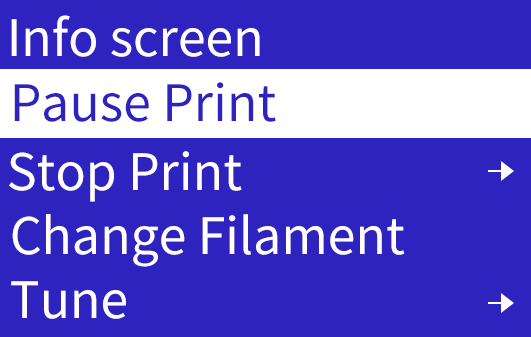
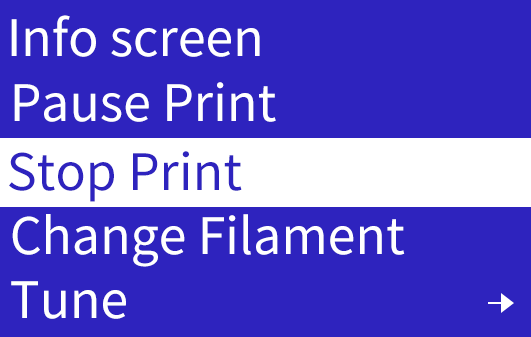
During print, press knob for print settings menu.
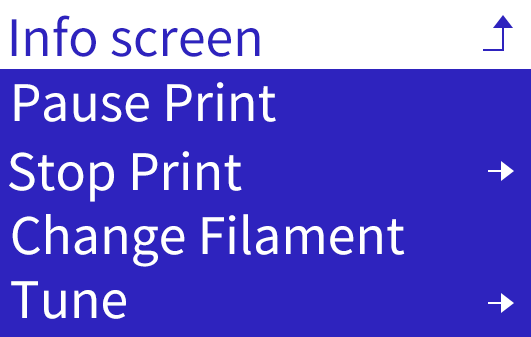

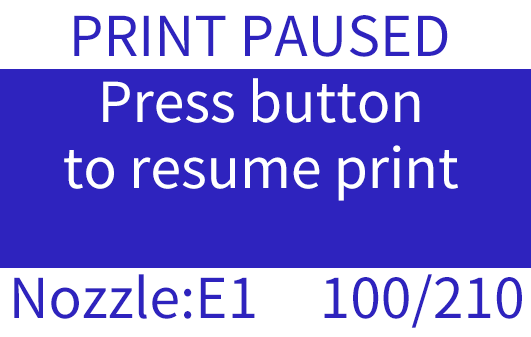
Pause Print
Pauses print and moves nozzle to pause position. Can resume from pause.

Stop Print
Cancels current print and returns to Info Screen.

IMPORTANT:
REMOVE PRINTED MODEL FROM PLATFORM AFTER STOPPING.
Change Filament
Same steps as Change Filament in Prepare menu:
Heat to set temp. Auto-unload at temp.
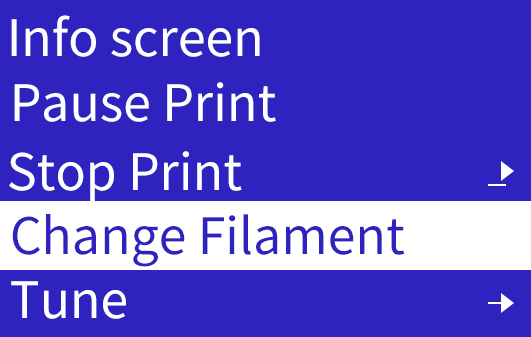
Beep, insert new filament, press knob.Auto-load at temp.
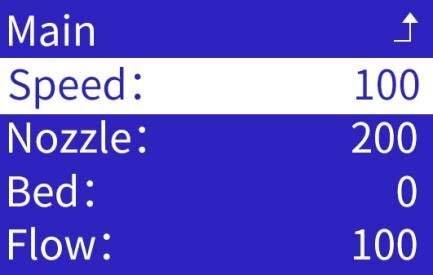
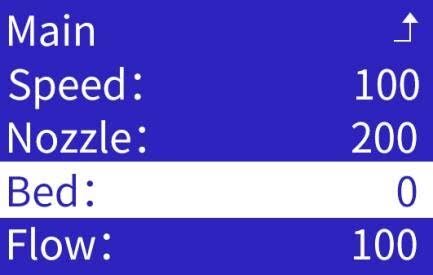
Tune
To change:
Select setting, turn knob to desired value.
Press knob to confirm.

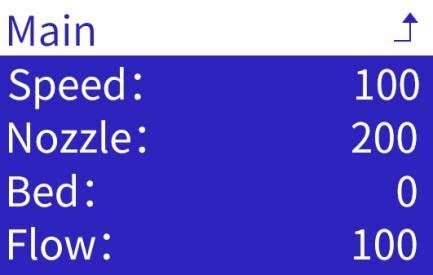
1.Speed

2.Nozzle temp
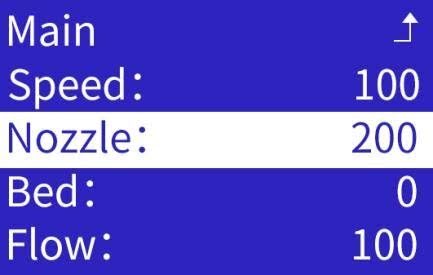

3.Nozzle temp
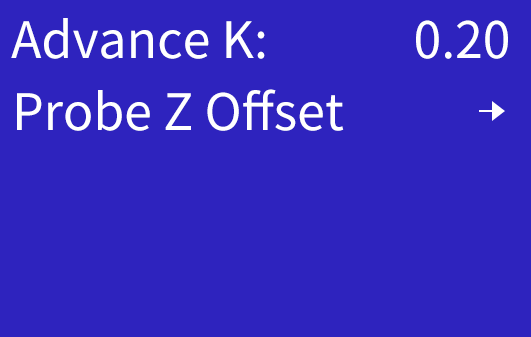
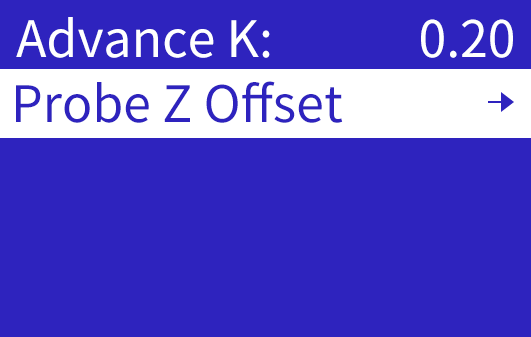
- Advance K
Advance K (Linear Advance) is a parameter used to optimize extruder pressure control.
It dynamically adjusts the extrusion flow during acceleration and deceleration phases to compensate for material pressure changes inside the nozzle.
This improves surface detail and print quality while reducing issues such as stringing and blobs.
In simple terms, it helps the extrusion keep up with speed changes, especially during rapid accelerations and decelerations.
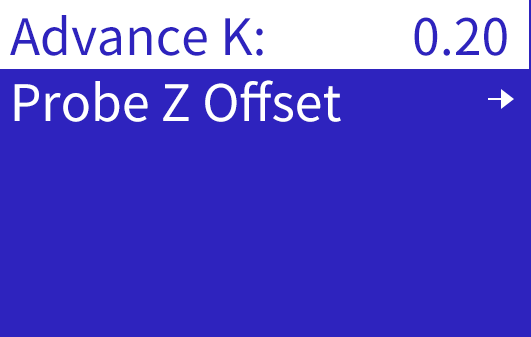

5.Probe Z Offset
IMPORTANT:
Z OFFSET MICRO-ADJUSTS NOZZLE HEIGHT IN REAL-TIME TO CHANGE GAP:
INCREASE BY 0.2MM IF GAP TOO SMALL (NO EXTRUSION)
GRADUALLY DECREASE IF GAP TOO LARGE (POOR ADHESION)

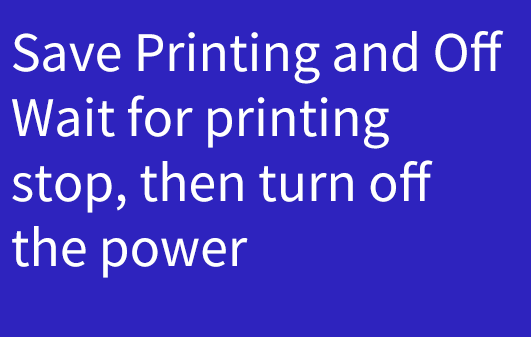
Save Printing and Off
Saves progress, moves to pause position, allows safe power off. Prompts to resume on next power on.


IMPORTANT:
"PAUSE PRINT" AND "SAVE PRINT" TRIGGER HOMING. MECHANICAL ENDSTOP TOLERANCES CAUSE SLIGHT DEVIATION ON EACH HOME, POTENTIAL SEAM/SHIFT AT RESUME POINT.
PRINT MODELS IN ONE SESSION WHEN POSSIBLE TO AVOID THIS.